First of all, Andero and I want to wish each and every one of you a most joyful holiday season! I wish I’d been able to write this particular article several months ago as planned, but life definitely has a way of proceeding at a pace that’s largely beyond one’s control. In fact, I’d fully intended to finish up the series on proper landings as well as post several other articles I’ve been working on, but instead have spent much of my time this past year working on what I think will prove to be some exciting and useful new products. So things are finally in hand again – if only temporarily 😉 – and perhaps you’ll be able to brighten your own or someone else’s life with the first of those products, which I’m about to describe below…
A few years ago, someone gave me a belt whose buckle was a re-envisioned application of an inexpensive folding hoof pick, which I really liked! I’d already been toying with the idea of creating a belt buckle for the “hoof world,” and the way this particular belt adjusted and fastened inspired me to move forward with the project using a similar technique. That product is now available for purchase here, and I thought I’d introduce it by talking a bit about the entire product development process, which hopefully you’ll find interesting.
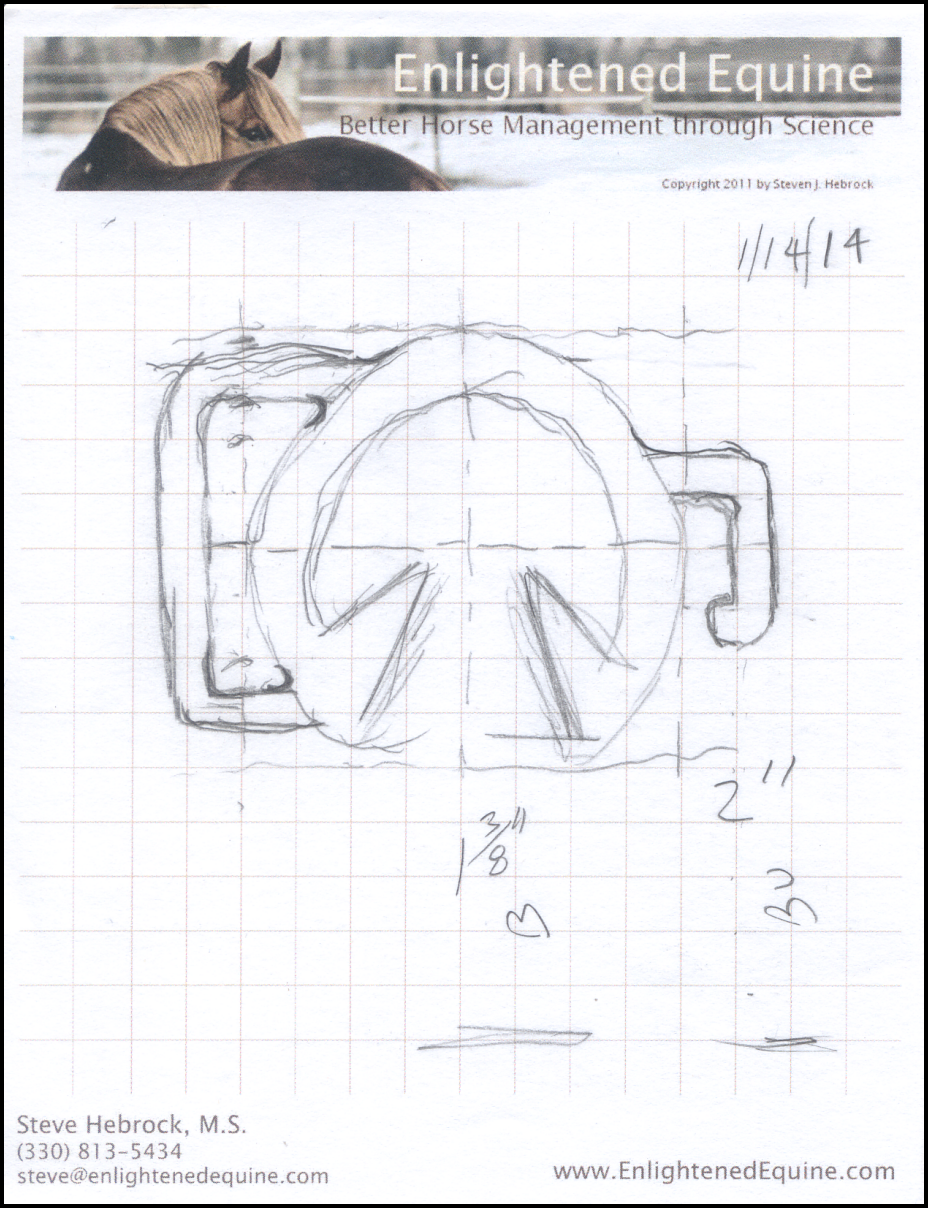
Regardless of the type of design I’m working on – electronic, mechanical, software, or aesthetic – most begin with a number of sketches such as the one shown below. In this case, I’m trying to capture the right shape and size for the buckle to evoke the impression a properly-trimmed bare hoof leaves in the sand.
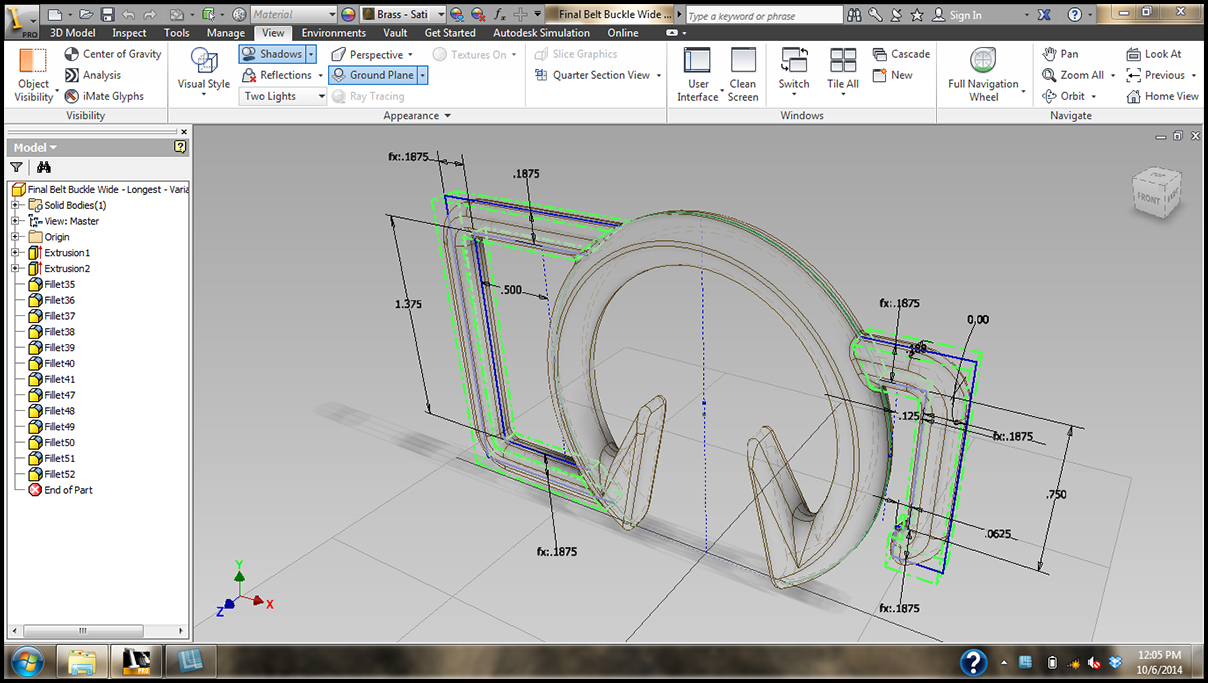
Once I come up with a suitable rough design, I usually switch to the computer to more accurately capture the design intent and start working out the problems. For the buckle, I created a 3D solid model of it in my CAD (computer-aided design) software so I could get a better sense of its proportions as a three-dimensional object and fine-tune its dimensions.
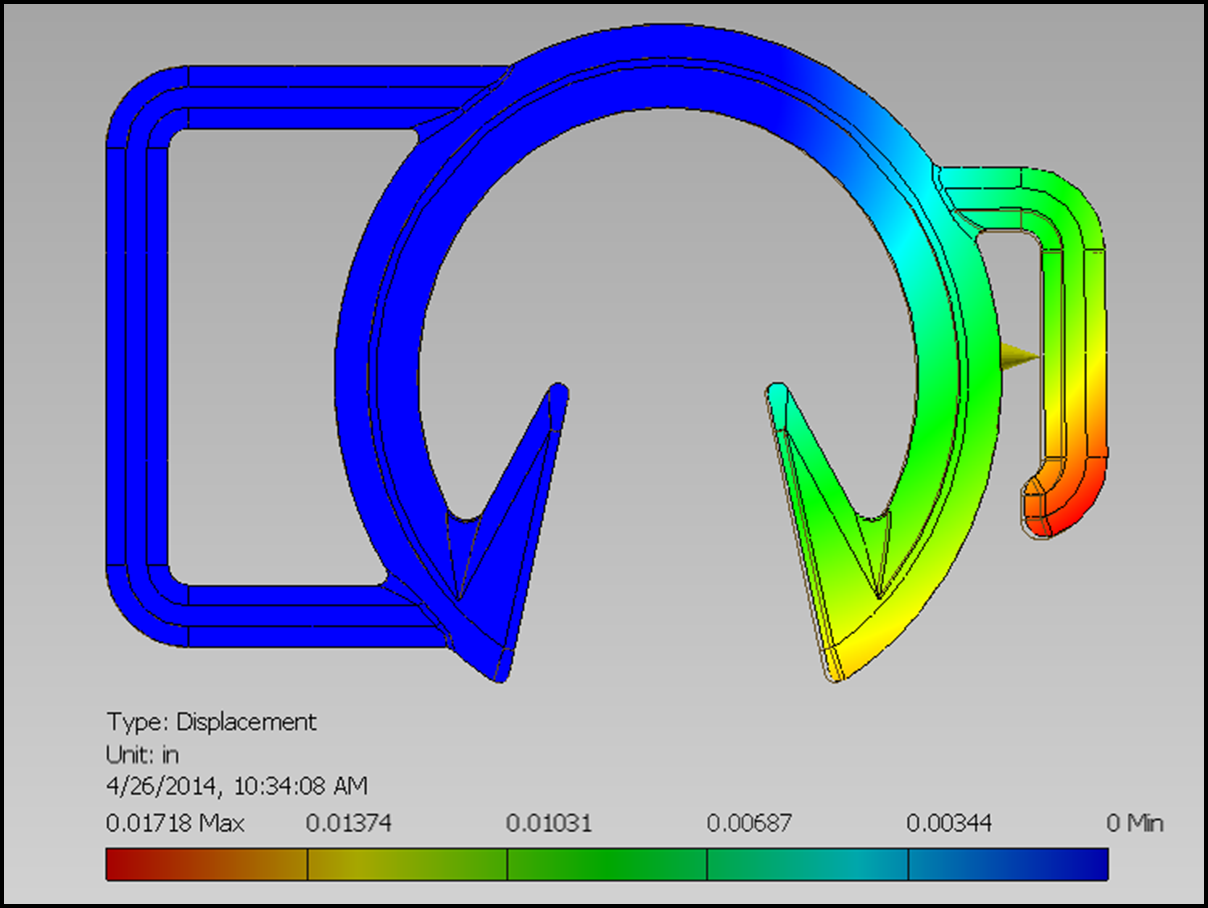
There are always issues and potential issues with any new design, and identifying and solving them early on is always preferable to waiting until the design is actually in production. So after finally coming up with a cosmetically-acceptable CAD model, I also verified the design from a structural perspective by subjecting the model to various analyses such as the stress analysis below. In this particular case, I was examining the amount of displacement (“bending”) the finished product, made of brass, would experience if the hook had 20 pound of pulling force applied to it. Note that the maximum amount of bending would occur at the very end of the hook, which would flex only 17 thousandths of an inch!
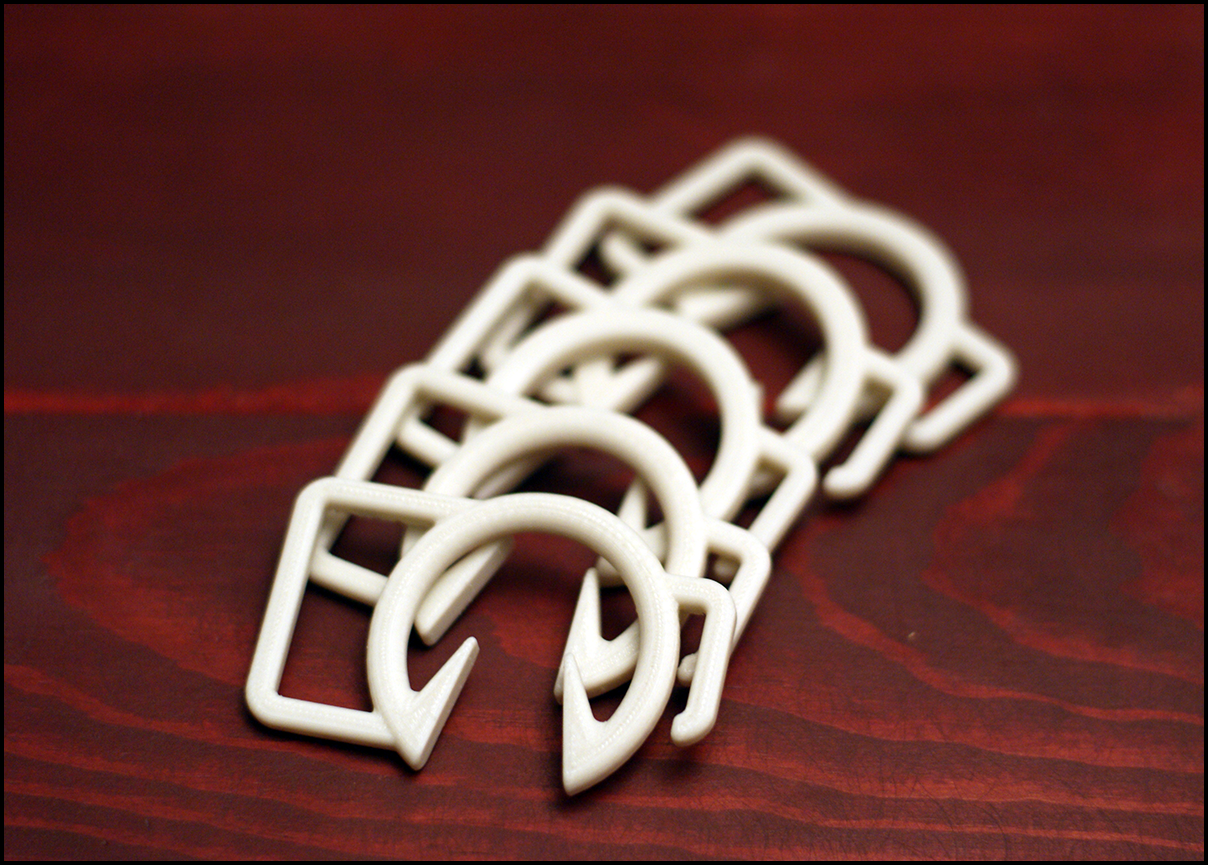
The computer is a wonderful tool, but it’s difficult to substitute anything for actually touching and feeling a physical prototype. So I then had several minor dimensional variations of the design 3D printed so I could test the functionality of the buckle with various leather thicknesses. Once I identified the specific dimensions I wanted, I had a pattern for casting machined, and then off it went to the metal casting company to have the parts made.
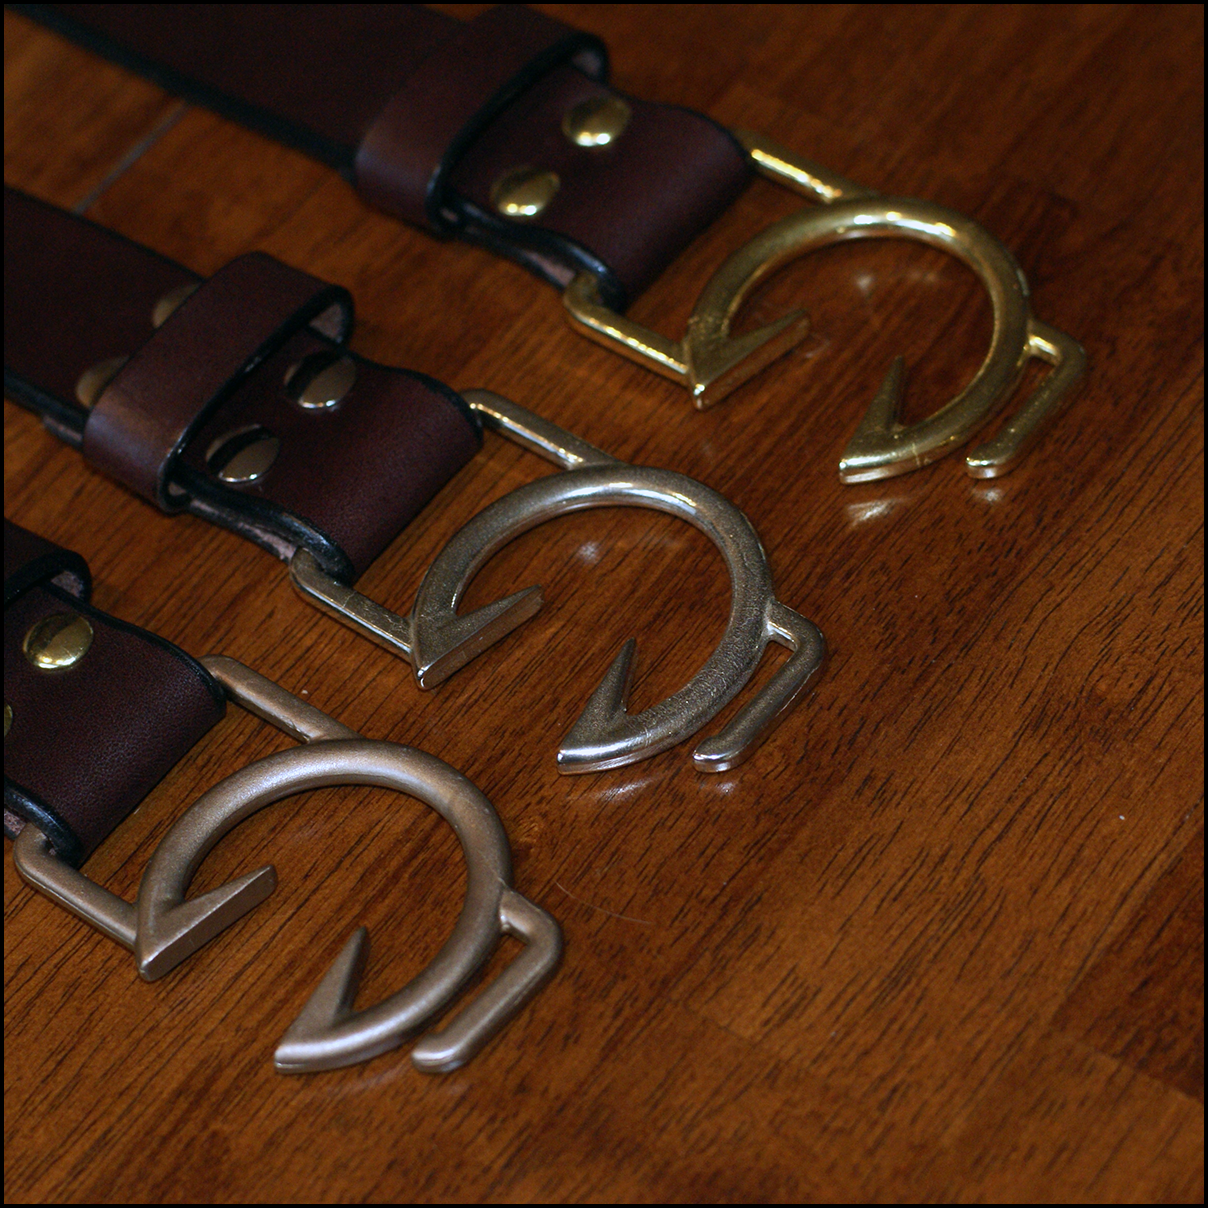
As I was finalizing the buckle design and manufacturing, I was also visiting second-hand stores to find used belts I could cut up to make belt prototypes. Once I’d decided on dimensions and belt sizes, I created an engineering drawing for the vendor. And after two or three variations, an acceptable design emerged and the belt was finally done. Thus, a product is born!
All of this took months to get through, and I’m not going to drag this out by giving you the details of locating acceptable vendors and coming up with packaging for the belt. But I will say that more designs are in the works, and include some very useful tools for hoof care as well as other “fashion” designs. All of these products can now be found on my new eCommerce site.
Have a wonderful holiday! More articles (I promise!) and products to come in 2015…